
| |
Amiga Emulator FAQ |
Updated: 4 June 2024
1. Load Winuae, on Quickstart tab select A1200 or A4000 for the Model and and then the Hard disk tab.
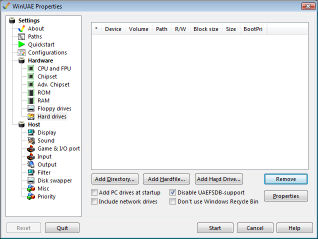
2. Select Add Hardfile and create a new Hardfile. Enter the size in megabytes, for example, 50 for 50MB and click Create.
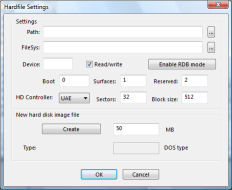
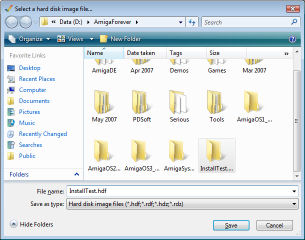
3. Select a location on your hard disk, and enter a filename and click Save. Click OK when done.
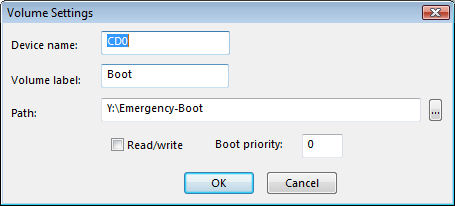
4. Click on Add Directory and add the following information.
Device is CD0, Volume name is Boot and path is
D:\Emergency-Boot from your OS 3.9 CD or ISO file ,where Y: is your optical drive on your PC.
Drag
the entry to the top of the list, so that its the first device to boot off.
Alternatively, you can boot off your existing Workbench 3.1
disk via Floppy Drives in DF0 or your existing Workbench hard file.
You may need to copy latest Installer on to your disk before installing AmigaOS.
For real Amigas you will need CDROM
drivers.
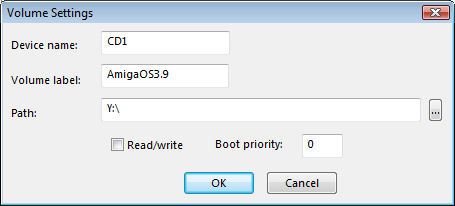
Click Add Directory again and add an entry for the entire
CDROM. Device is CD1, Volume name is AmigaOS3.9 and path is Y: (or
whatever your CDROM drive is called). Click Start.
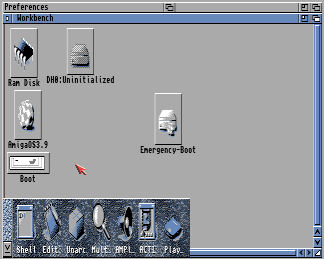
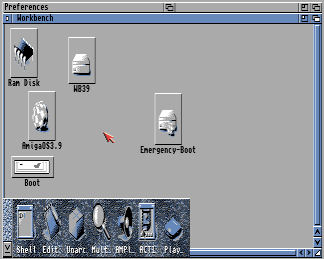
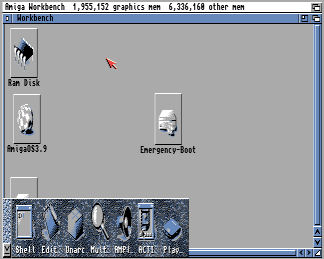
5. Cancel any prompts for DF0. You may have to move some windows about to see Workbench. You should now have Workbench loaded with icons for Ram Disk, Boot, AmigaOS3.0, Emergency-Boot and a extra disk called DH0:Uninitialised. The icons at the bottm is the Dock for launching some common programs.
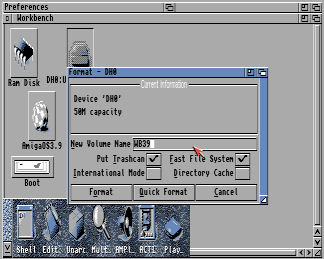
6. Select the DH0:Uninitialised icon and goto the menu
and select Icons, Format Disk... Enter a Volume name and tick Fast File System,
so it uses the
best file system for hard disks. Click Quick Format as a full format
is not required here.
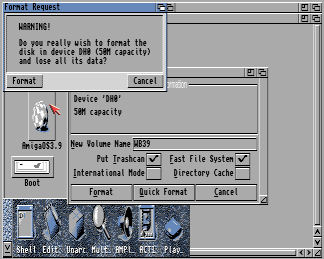
7. Click Format for continue formatting.

8. Click Fomat again on the second Warning message.
9. You should now have a hard disk called WB39 on the Workbench. You are ready to install Workbench.
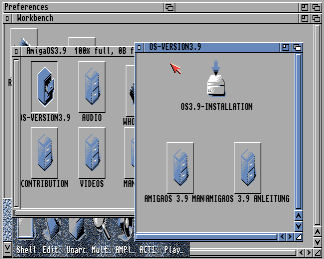
10. Double click on AmigaOS3.9 icon and double click on OS-Version3.9 folder and select the OS3.9-Installation script.
11. Before installing AmigaOS 3.9, make sure you meet the requirements: 6MB of Fast RAM, 68020 (68040 is better) CPU, and Kickstart 3.1 ROM and Sound is enabled otherwise installation will fail for one reason or another. Press F12 to check settings, press Reset if necessary before continuing.
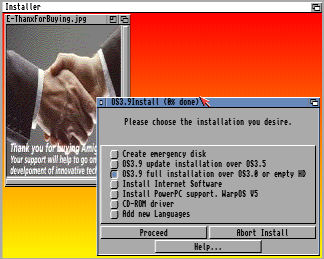
Select option for a full installation on to an empty HD.
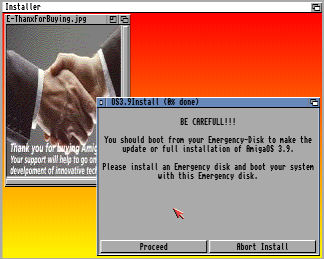
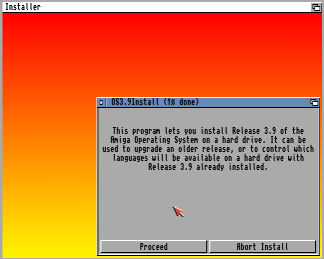
12. Read the warning message and then click Proceed.
13. Read the installation information and click Proceed.
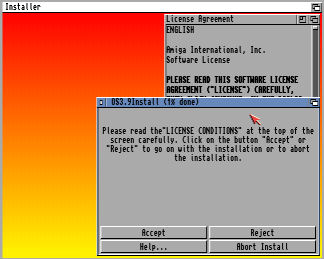
14. Read the License information and click Proceed.
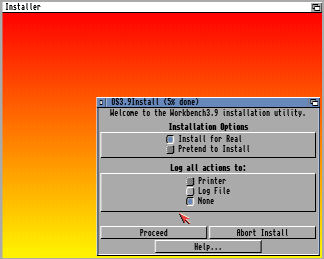
15. Check the installation options and click Proceed. You may hear a 'applause' sound when this is displayed.
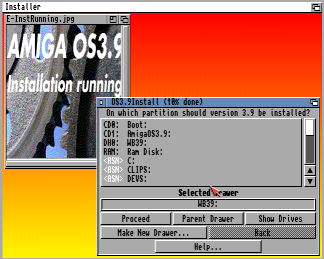
16. Select the drive to install AmigaOS on. In this case WB39. and click Proceed.
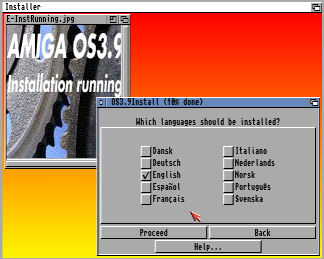
17. Select a language to use from the list given to install (by default english is selected). Click Proceed.
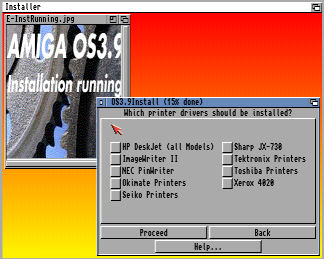
18. Select which printers to install. Here we have selected
Epson, HP and PostScript printers. Click Proceed. Winuae is designed to
work with PostScript if selected in the Game and I/O Ports tab and
GhostScript is installed.

Click Proceed, some more Printers are shown, select which printers you need then click Proceed.
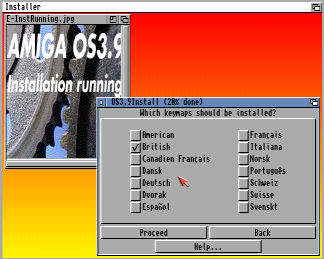
19. Select which keymaps, for the keyboard layout, to install. Click Proceed.
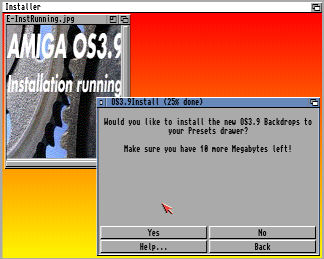
20. Select Yes or No if you want more Backdrops installed. I selected No here, I'll probably supply my own.
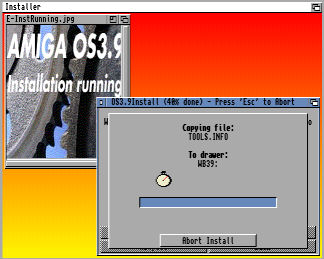
21. Once selected, files will be copied to your hard file.
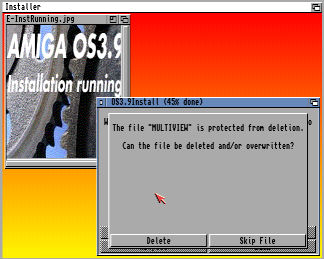
22 .You may get the odd warning about overwriting files, in
this case Multiview should be deleted and new one written.
Click to the left of Delete to prevent accidently clicking Abort install.
22. Installation is complete.
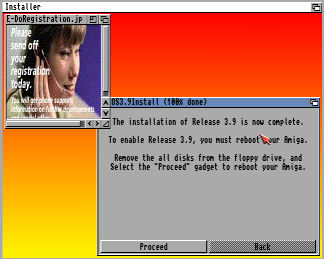
23. Press F12, eject any disks in Floppy Drives and remove the Boot entry from Hard drives and select Reset. Your Workbench 3.9 installation is ready to use!
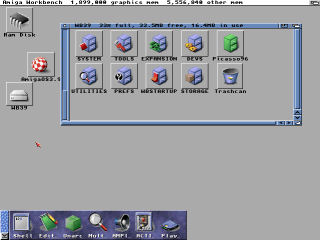
24. To improve the display, open AmigaOS3.9, Contribution and open Picasso96Install folder and run Setup. Make sure you have set up some RTG RAM and use a decent CPU e.g. 68040, it will use the uaegfx graphics driver so it will use your PC's graphics card instead of the slower native modes. Reset the Amiga and run the ScreenMode program from the Prefs folder and select uaegfx and a screen resolution to get something like this:
25. Updates (aka BoingBags) for AmigaOS can be found here: AmigaOS FAQ.
26. Additional programs can be installed such as Internet software,
PowerPC support, CD ROM drivers and other software from the Contribution folder.
Internet software including AmigaMail and AWeb browser.
a) Web Browser: NetSurf , OWB, IBrowse.
b) Text Editor: Cygnus Ed
c) Multimedia: Hollywood
d) Desktop Publishing: PageStream
e) Graphics: Personal Paint or PPaint.
f) Word Processor: AmigaWriter.
g) Development: AmiBlitz3, VBCC, ACE, SDL
h) User Interfaces: MUI 5, Dopus 5
![]() Back to UAE FAQ.
Back to UAE FAQ.