
|
Windows 7 Help |
1. What do I need to do before upgrading to Windows 7?
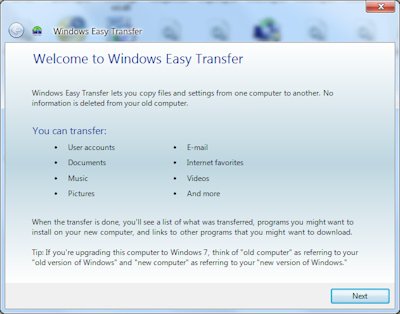
a) Backup your data. You can use your own backup tools but make sure that the backup tool works in Windows 7 as well. You can also use the Easy transfer tool directly from the Windows 7 CD (see z:\Support\migwiz\MigWiz.exe) or download it to backup and transfer your documents and settings to another machine. Another alternative is just to burn your documents and settings directly to CD or DVD or copy them to an external storage device such as an external hard disk, USB stick or network storage.
b) Check your Hardware configuration. Make sure that your hardware is up to date and compatible with Windows 7. Some very old hardware may need changing to allow it to work on Windows 7. If there are too many parts to change, then consider buying a new PC with Windows 7 instead.
c) Check your Software is compatible. Most recent programs will work, but you should check on the manufacturer's web site to see whether it will work on Windows 7. If unsure about compatibility, download and run the Upgrade Advisor tool from the Windows 7 CD (see 'Check Compatibility Online' from the menu). Any incompatible software should be uninstalled at this stage.
d) Check Hard disk space. You need plenty of free disk space to upgrade an existing Windows installation to Windows 7. If you do not have enough disk space, then consider doing a 'clean install' which means erasing your hard disk and install Windows 7 on to an empty hard disk.
2. How do I do an Upgrade to Windows 7?
a) Boot your PC and wait for the desktop to appear, if prompted login as well.
b) Insert the Windows 7 DVD or USB installation media and allow Setup.exe to run. You can upgrade from Windows XP Home or Vista Home to Windows 7 Home or Pro. You can only upgrade from Windows XP, Vista Professional to Windows 7 Professional. Select 'Install now' on the menu. Note that it is not possible to upgrade from a Windows 32 bit OS to a Windows 64 bit OS.
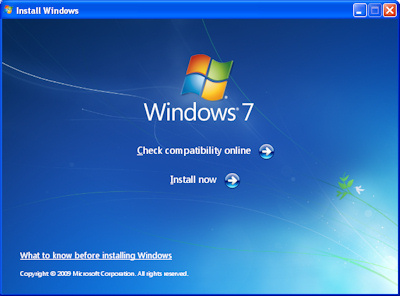
c) After the install starts follow the prompts.
3. How do I do a clean install of Windows 7?
a) You will need to boot from the Windows 7 DVD. Make sure that you change the boot order in the BIOS so that the CD/DVD drive appears first in the list (how this is done differs between Bioses).
b) After the initial setup, the hard disk partition screen will appear, at this stage you should delete the existing partition(s) and create a new fresh partition to do a clean installation. This will erase all existing programs and data from the hard disk. If you choose to use the existing partitions, then it will overwrite the existing operating system files, but keep program files intact (these programs may need a reinstall after Windows is reinstalled as some settings may be lost).
c) Follow the remaining instructions on screen to complete the install.
4. How do I change to a different edition of Windows 7?
There are several editions of Windows 7 from Starter, Home Basic, Home Premium, Professional, Enterprise and Ultimate. You can upgrade from a lower edition to a new edition using the Windows Anytime Upgrade tool. Use the wizard to select the edition you want, purchase a new product key and enable the new features of the new edition. Check out this chart to see the differences between the editions.

5. What else should I install after upgrading to Windows 7?
To make Windows 7 more up to date, you should also install the following updates and components.
a) Internet Explorer 11 - x86 and x64.
b) .NET Framework 4.7 or later
c) Anti-Virus Product
d) Platform Update (DirectX, Imaging, Codecs)
e) Virtual CD-ROM Control Panel
f) Chrome based browser.
Go to Windows 7 64 bit.