
|
Windows Guide |
System Restore is a feature for Windows that saves the current state of the Operating System at specific points in time. So when a change to the operating system is made such as patch, update or device update is applied, it is possible to use System Restore to revert to a previous state before the change was made if the update went wrong and could not be uninstalled.
System Restore does NOT restore data files, it only affects the operating system or programs installed. If you want to restore data, then you must do regular data backups with a backup program such as or some other third party program.
1. Open the Settings.
2. Select System, About button or link.
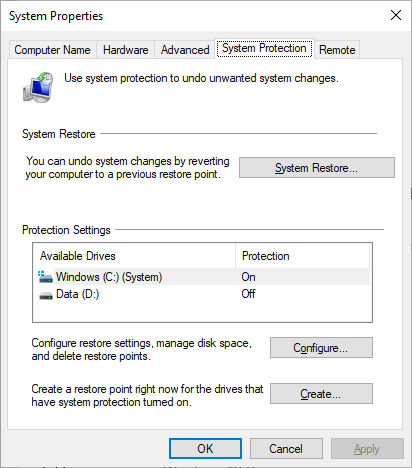
3. Click on the System Protection tab.
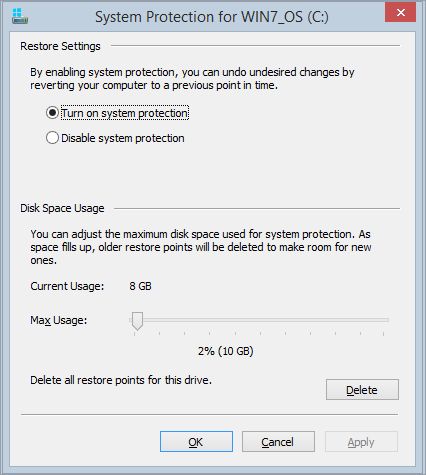
4. Select Configure and enable or disable protection for each drive.
5. Below it should say On against each drive.
If you need to clear out all restore points, then tick the option to turn it
off, then reboot the PC to clear the database.
Then you can enable it again afterwards and start creating new restore points.
You cannot selectively delete specific
restore points.
1. Open the Settings.
2. Select System, About.
3. Click on the System Protection tab
4. Click on Create button to create a restore point.
5. Enter a name for the restore point.
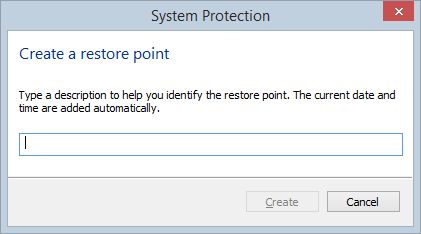
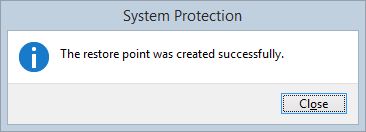
6. Click Create to create a restore point.

7. Click Close when done.
1. Open the Settings.
2. Select System, About.
3. Click on the System Protection tab
4. Click on System Restore.
5. Click Next
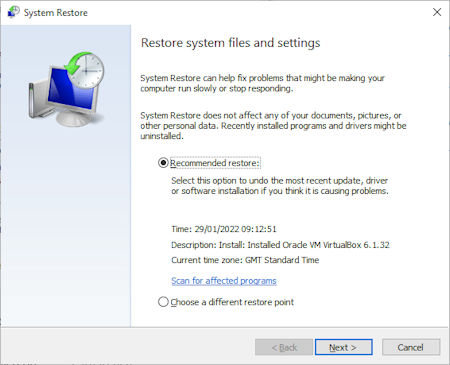
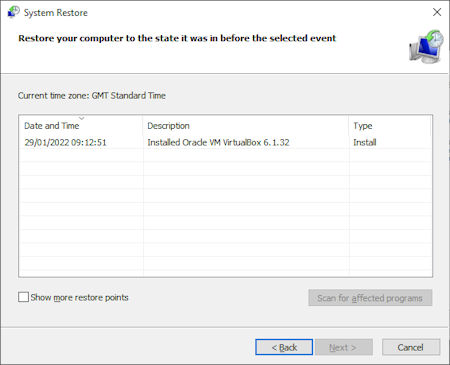
6. Use the Recommended Restore or select a different restore point from the list and click Next
7. Check your selection and click Finish.
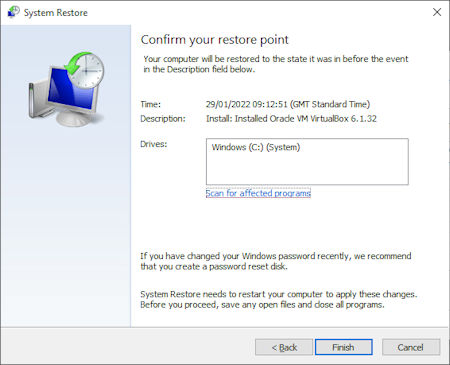
8. Once your restore is done, your computer will be rebooted to apply any changes.
Otherwise, click cancel and not apply any changes.