|
Hyper-V Guide |
1. Load the Hyper-V Manager console.
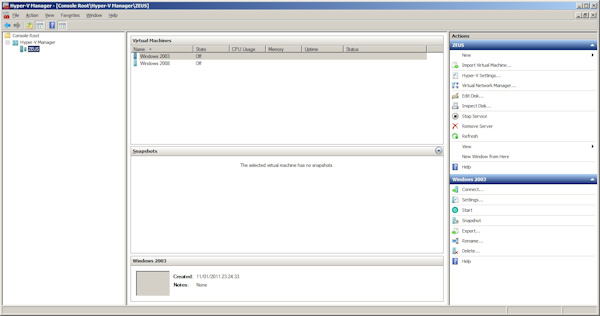
2. On the Actions pane select New > Virtual Hard Disk.
3. Click Next on the Before you Begin page (if you have not skipped this).
4. Select the Disk Type.
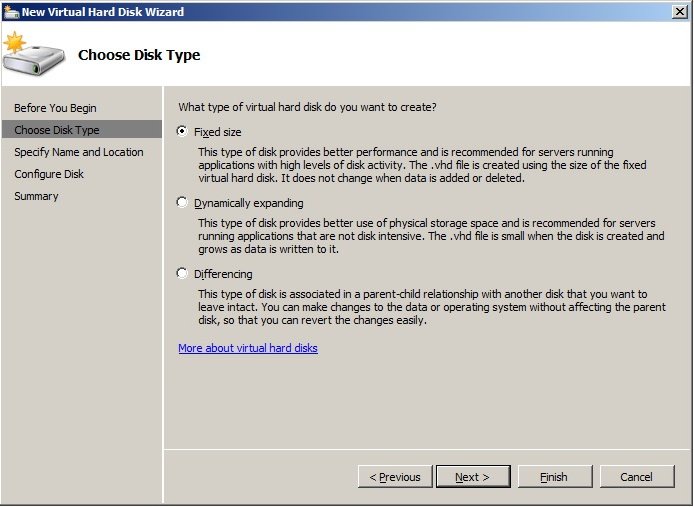
a) Fixed Disk. This is recommended for best performance but does not allow for expansion if the disk fill up.
b) Dynamically expanding. This makes best use of storage, as will be small to start with and only grows if more files are stored on it.
c) Differencing. This will only store changes in data on the disk without affecting the parent disk, only useful for development or testing.
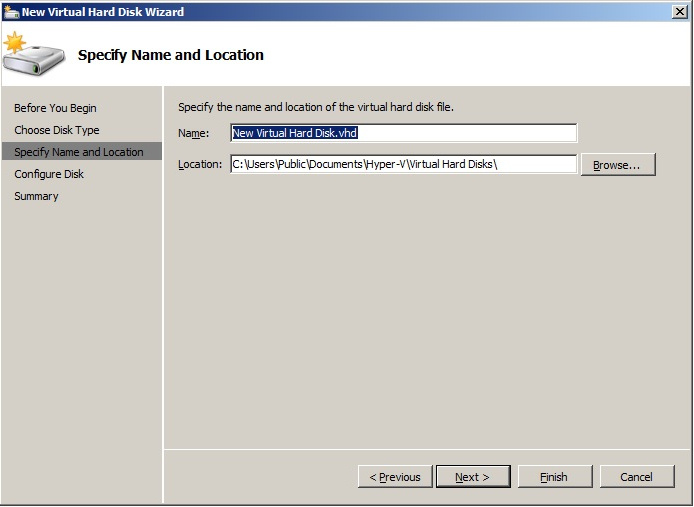
5. Enter the disk's filename and location. The default location is C:\Users\Public\Documents\Hyper-V\Virtual Hard Disks. Ideally, you should specify the location on high speed iSCSI or SAN drives rather than the Host's system drive.
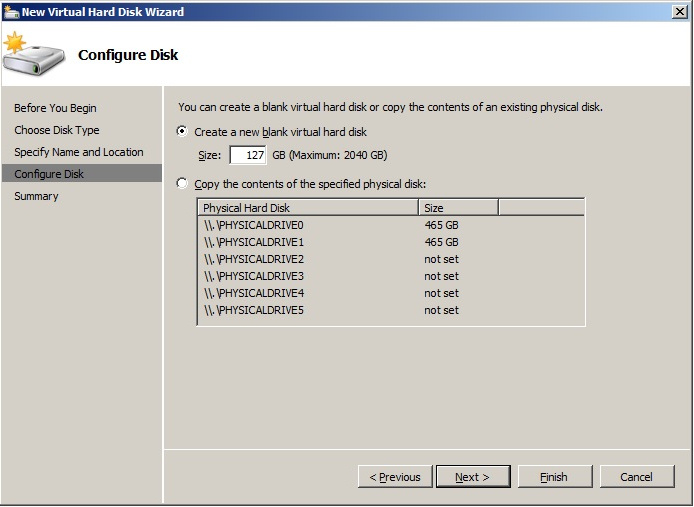
6. Configure the disk by specifying the maximum size (a proporation of the physical disk the VHD is on) or use a copy of a physical disk.
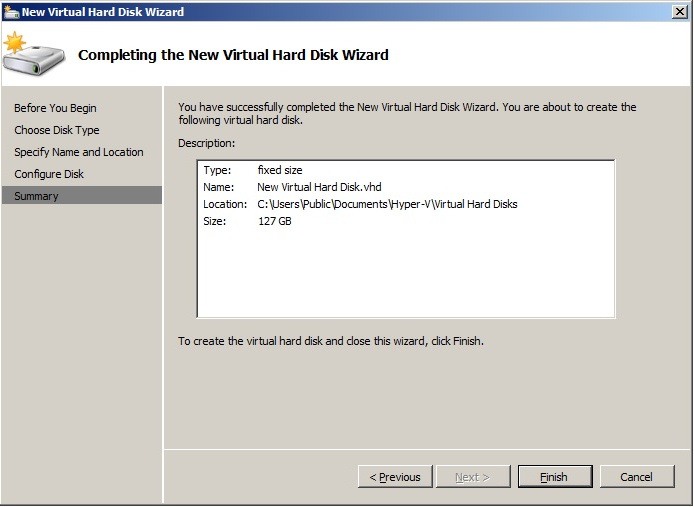
7. Check the summary and click on Finish.