
|
Hyper-V Guide |
1. Load the Hyper-V Manager console.
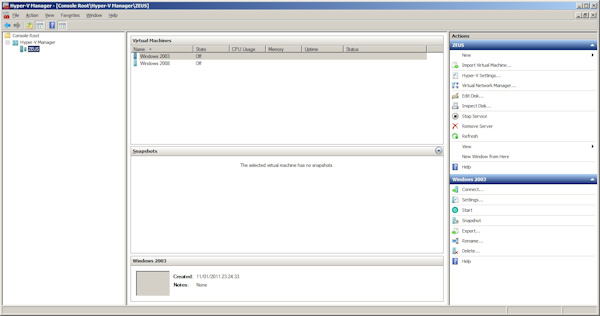
2. On the Actions pane select New > Virtual Machine option.
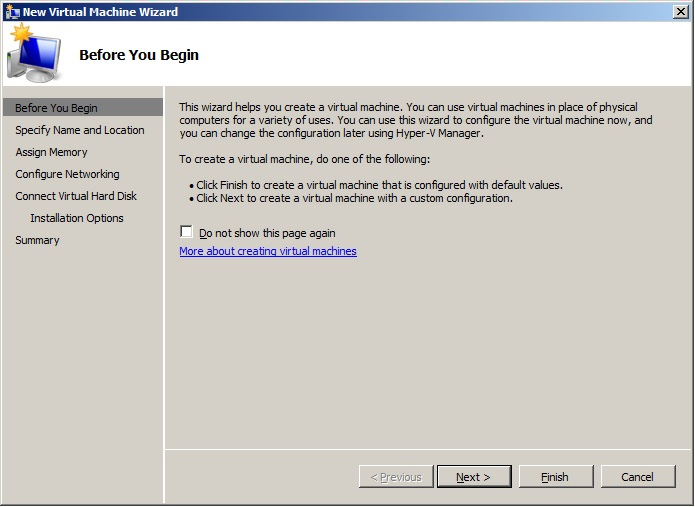
3. Click Next on the 'Before you begin' page.
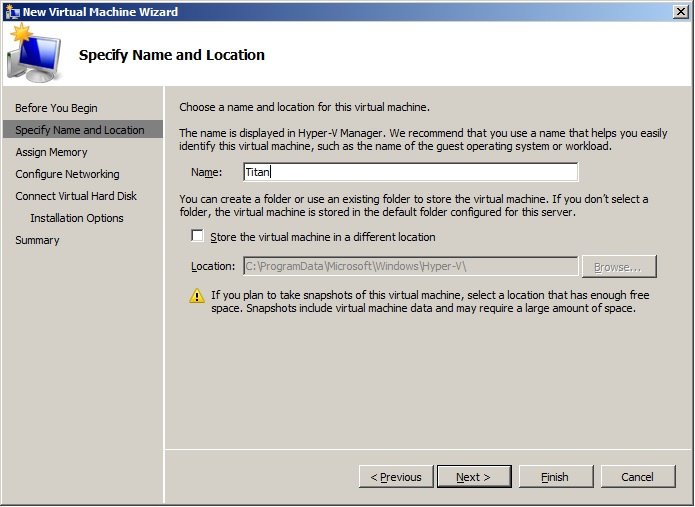
4. Enter the name of the new server and optionally specify where the Hyper-V files are stored. By default, they will be stored in C:\ProgramData\Microsoft\Windows\Hyper-V\. Click Next.
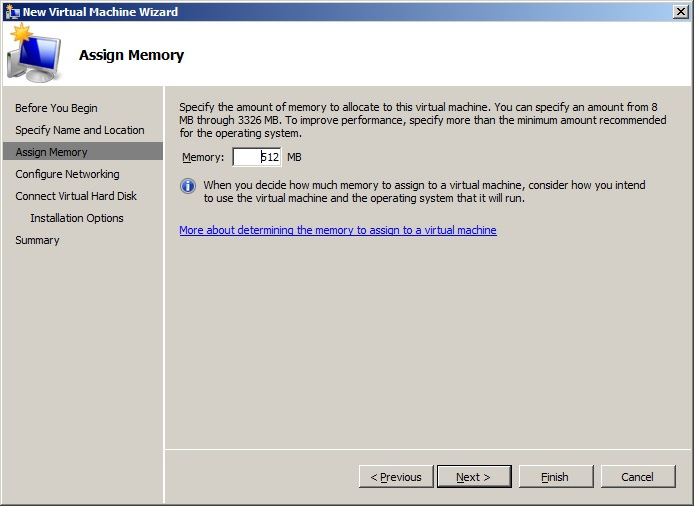
5. Assign how much memory, in Megabytes, to allocate to the server. Most Windows servers should have at least 1024 MB, add more depending on the application. The default is 512 MB.
6. Select which Network connection to assign the Virtual Machine to. The default is No Connection.
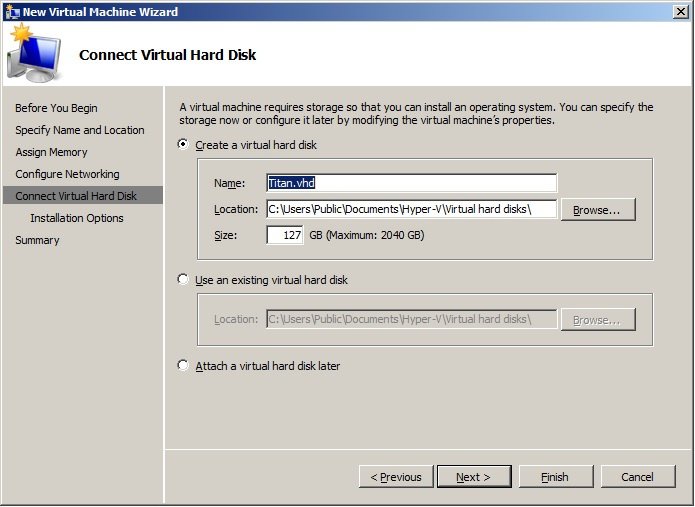
7. Now you can create a Virtual Hard disk, or use an existing disk or attach a disk later. Virtual hard disks end with .vhd. The disks usually grow in size as more files are stored, so do not restrict the size too much.
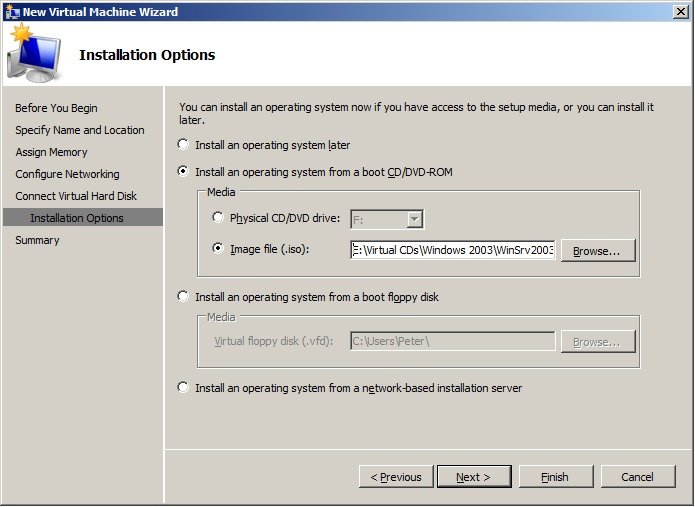
8. Now select the drive or disk to install the operating system from. It can be from a physical CD/DVD drive on the host system, an ISO file of the installation disk or from a floppy disk or from a network based installation server such as a WDS (Windows Deployment Service) server.
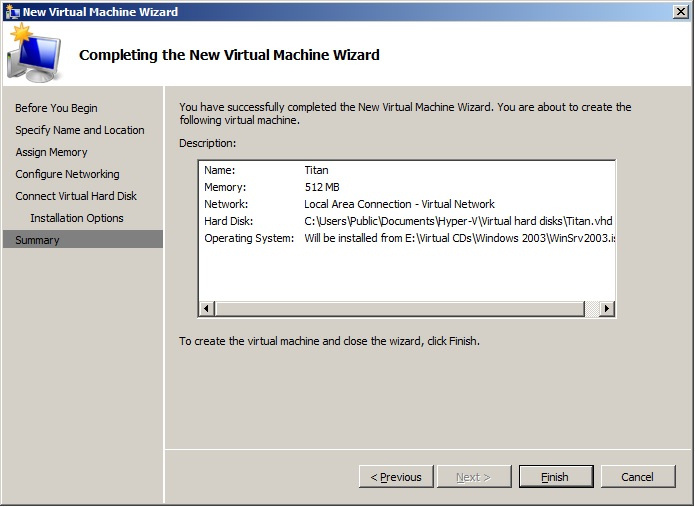
9. Click Finish to complete creation of the Virtual Machine.
10. Once the machine is created, you can click on Connect and then Start to power on the VM and begin the OS installation.
11. Once the OS is installed, install any service packs and new security updates from Windows Update.
12. From the Action menu, select Insert Integration Services Disk to install the extra drivers and tools to use the VM with Hyper-V.
13. Once the server is rebooted, it is ready to be setup for Networking and install any applications required.