
|
Hyper-V Guide |
Updated: 16 Jan 2021
1. Create a new Virtual Switch
A virtual network switch is required for the physical network connection on the host and thus allow virtual machines to use the switch to connect to the network.
a) Select Virtual Swtich Manager.
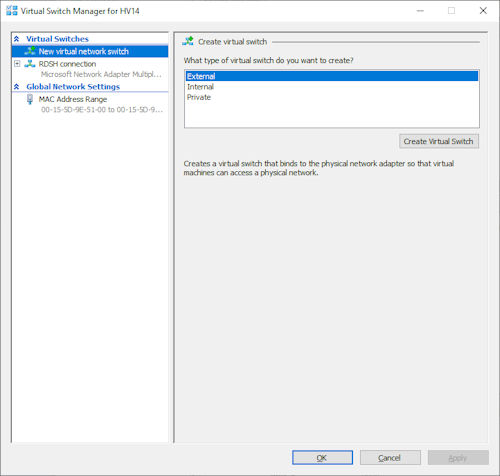
b) Click Create Virtual Swtich.
Give the new Virtual Switch and any enter any specific notes for the new connection.
c) Select the network connection type.
i) External. Connects to a wired physical network to be used only by the VMs on a the switch and between host and the VMs.
Select the network adapter to use for this connection from pull down menu.
ii) Internal. Connects to a network used only by the VMs and between host and the VMs.
iii) Private. Connects to a network only used by the VMs.
d) Optionally set a VLAN identifier to isolate network traffic from other VMs using the same v-switch. You can use any number for the ID.
e) Click OK and Yes to apply changes.
2. Virtual Switch Properties
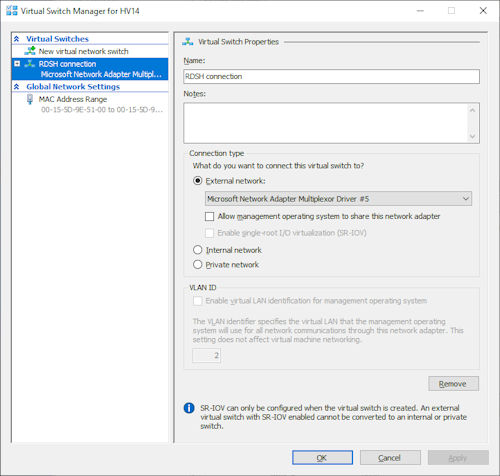
a) Name. Name of the Virtual Switch.
b) Notes. Any optional addition description of the switch.
c) Connection type:. External, internal or Private network (see above).
d) VLAN ID
e) Enable virtual LAN identication for management operating system. On or off.
f) VLAN identifier. Bumber fo rthe VLAN to seperate it from other VLANs using the same switch.
g) Remove. Use this button to remove a virtual switch (make sure no VMs are using it first).
3. Virtual Fibre Channel SANs
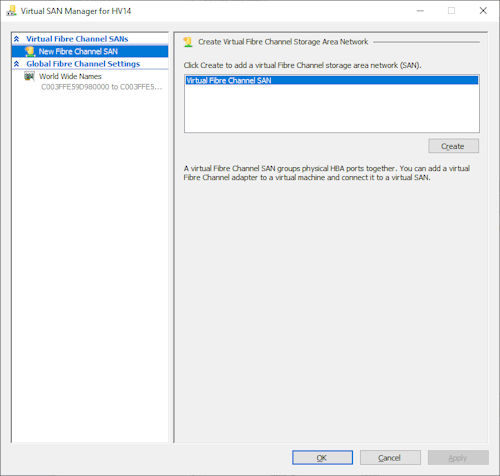
You can also setup a virtual Fibre Channel SAN with groups physical Host Bus Adapter (HBA) ports gether. This is useful for connecting the Hyper-V Host to a Storage Area Network (SAN) to provide
storage for storing the VM file and VHD files.